


Setting Up Google Analytics 4 on Your WordPress
- February 20, 2025
- 0
Setting Up Google Analytics 4 on Your WordPress
Estimated time to execute: 10 to 15 minutes

Aim: Install Google Analytics on your WordPress website to assist users in identifying trends and patterns, such as visitor interaction and engagement with their websites.
Optimal Outcome: The Google Analytics tracking code has been installed on your WordPress. Data such as traffic sources, bounce rate, and conversion rate may now be tracked.
What do you need to start: You will need a WordPress and a Google Analytics account to follow this SOP.
Why is this SOP Important: Google Analytics assists businesses in better understanding their website. It also aids in evaluating and measuring how marketing, content, and products work in terms of user engagement. This program gathers data and organizes it into valuable information.
When and Where to execute: Google Analytics should be installed as soon as possible to ensure that you can monitor, track, and optimize the performance of your store.
Who Should Be Doing This: The store owner or the person in charge of managing your WordPress.
What is Google Analytics 4 ?
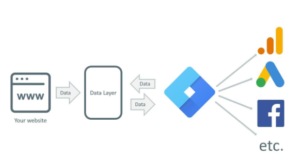
Google Analytics is a free online analytics tool that assists website owners and enterprises in measuring and analyzing website traffic. It records the kind and source of visitors, including the number of visitors, the pages they visit, the amount of time they spend on each page, and other information. Businesses may better understand how their website is performing with this data, allowing them to make decisions to improve their website and increase conversions.
Google Analytics is incredibly valuable to WordPress since it provides substantial information x about the success of their online business. This helps WordPress owners discover areas for improvement, better understand their customers, and make more informed decisions about the future of their company.
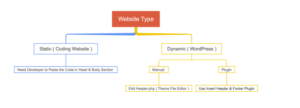
Google Analytics installation on WordPress is a simple and easy process. The actions you need to take are as follows:
Execution
Create a Google Analytics Account
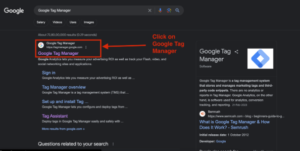
STEP 1 : Visit the Google Analytics website.

STEP 2 : Click the “Start for free” button. Sign in using your Google Account or create a new one.

STEP 3 : After logging in, click Set up for free to begin establishing your account.

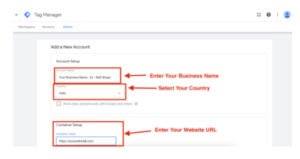
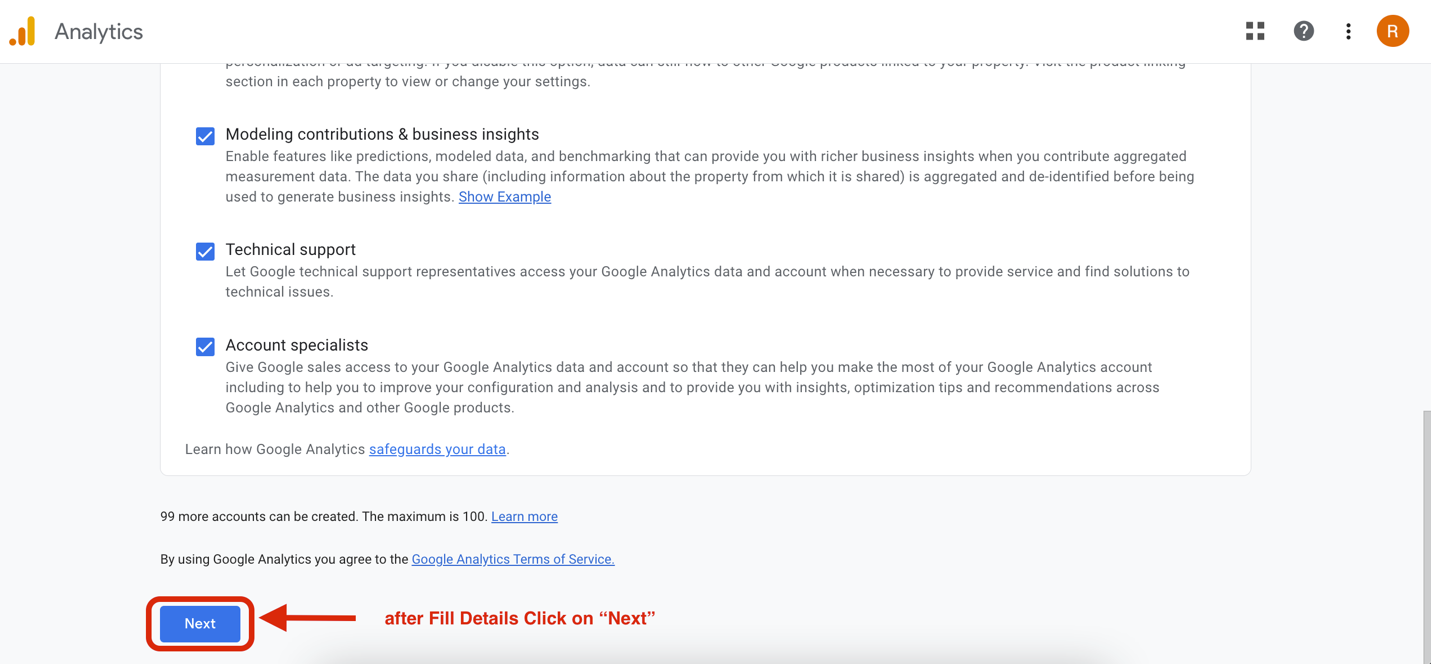
STEP 4 : Provide an account name and specify the data-sharing settings on the Create Account page to control the data you share with Google, then click Next.
.
STEP 5 : Select the reporting time zone, currency, and enter a name for the property.
Tip: Property name usually represents a website or an app.
.

STEP 6 : When you add a property, only Google Analytics 4 properties are created. To build a Universal Analytics property, click show advanced options, then enable the switch and input the URL of the website where you wish to install the property.
Reminder: Screen views in Universal Analytics are tracked in distinct mobile-specific properties, whereas GA4 integrates web and app data in the single property.
Conclusion
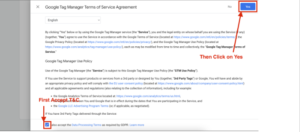
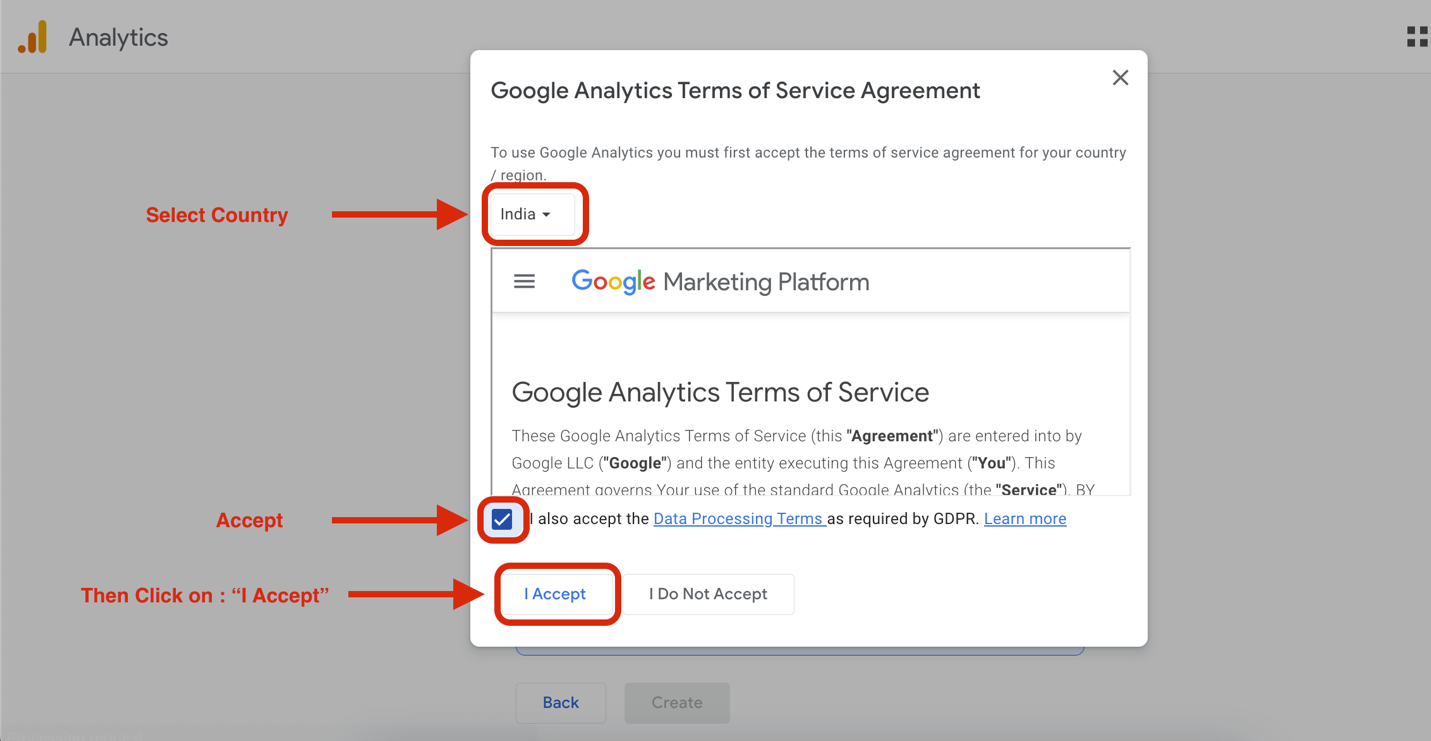
Reminder: Choose whether to produce both GA4 . Then click the Next button.
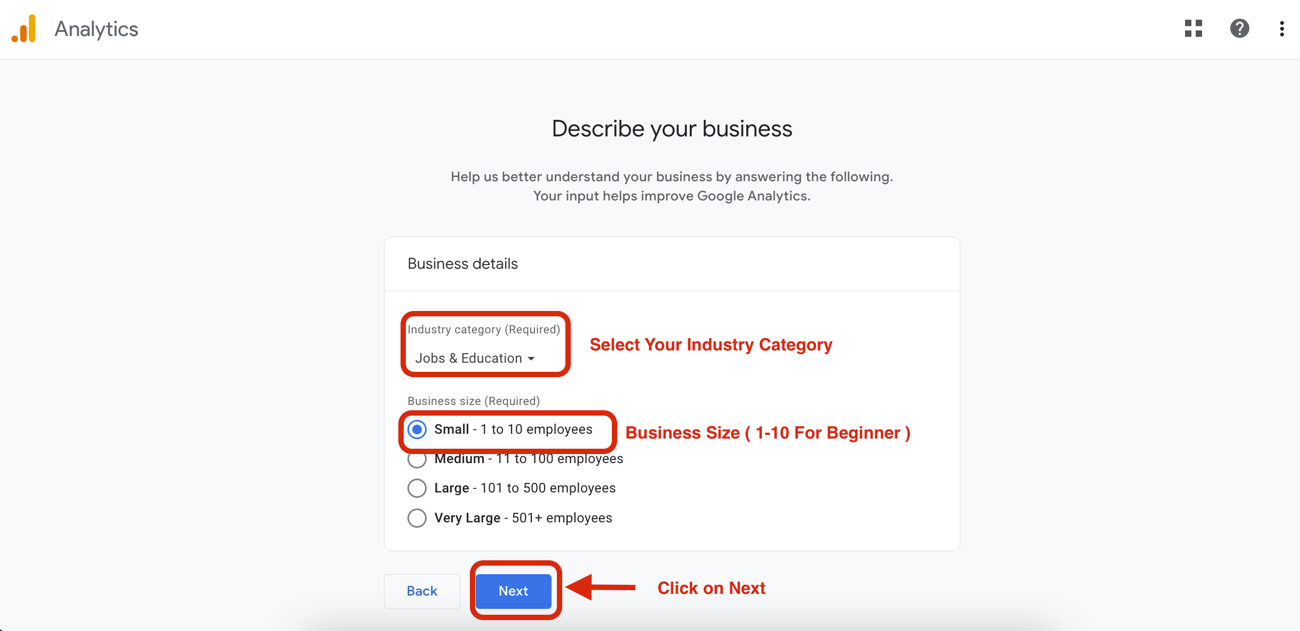
STEP 7 : Set up your business information then click Create.
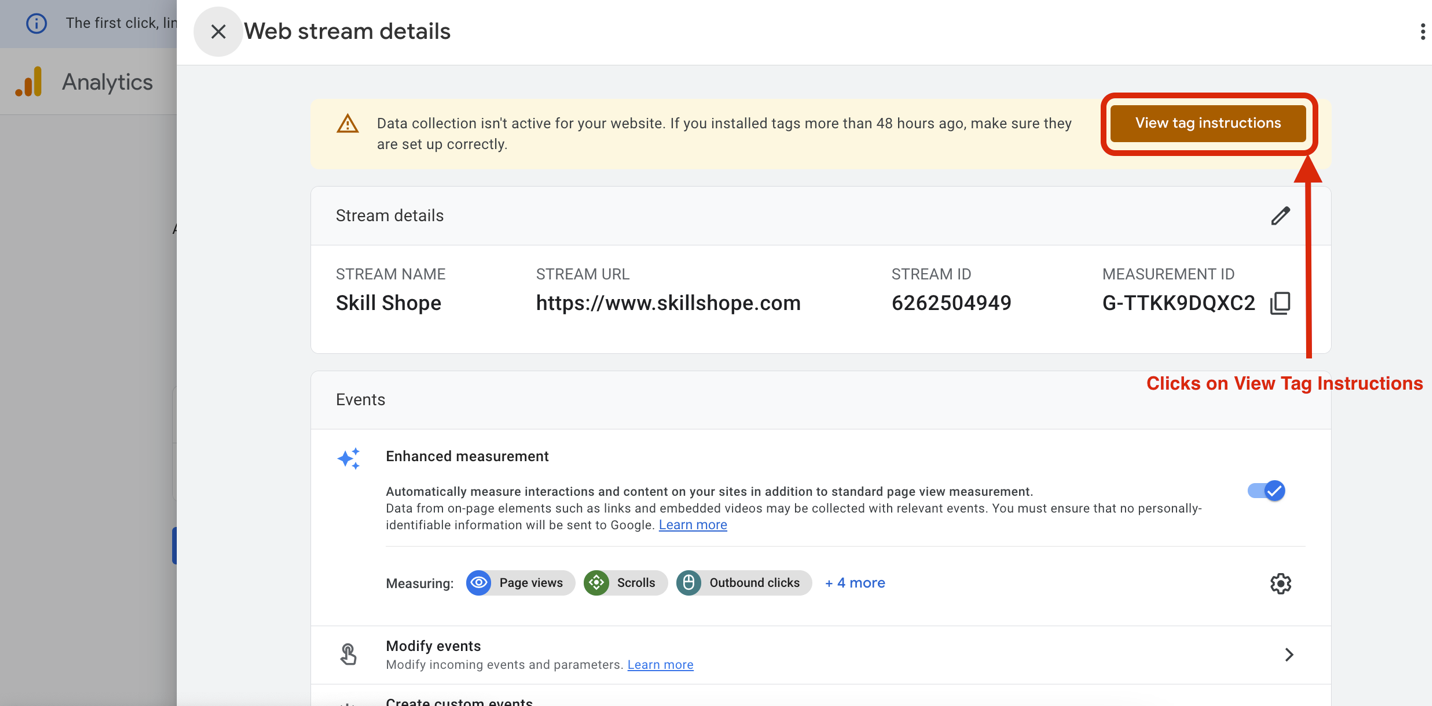
STEP 8 : A pop-up window with web stream details will appear. Copy the Measurement ID information
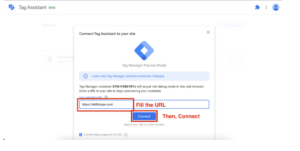
Select Website :

Fill Your Website Details : Website URL, Stream Name :
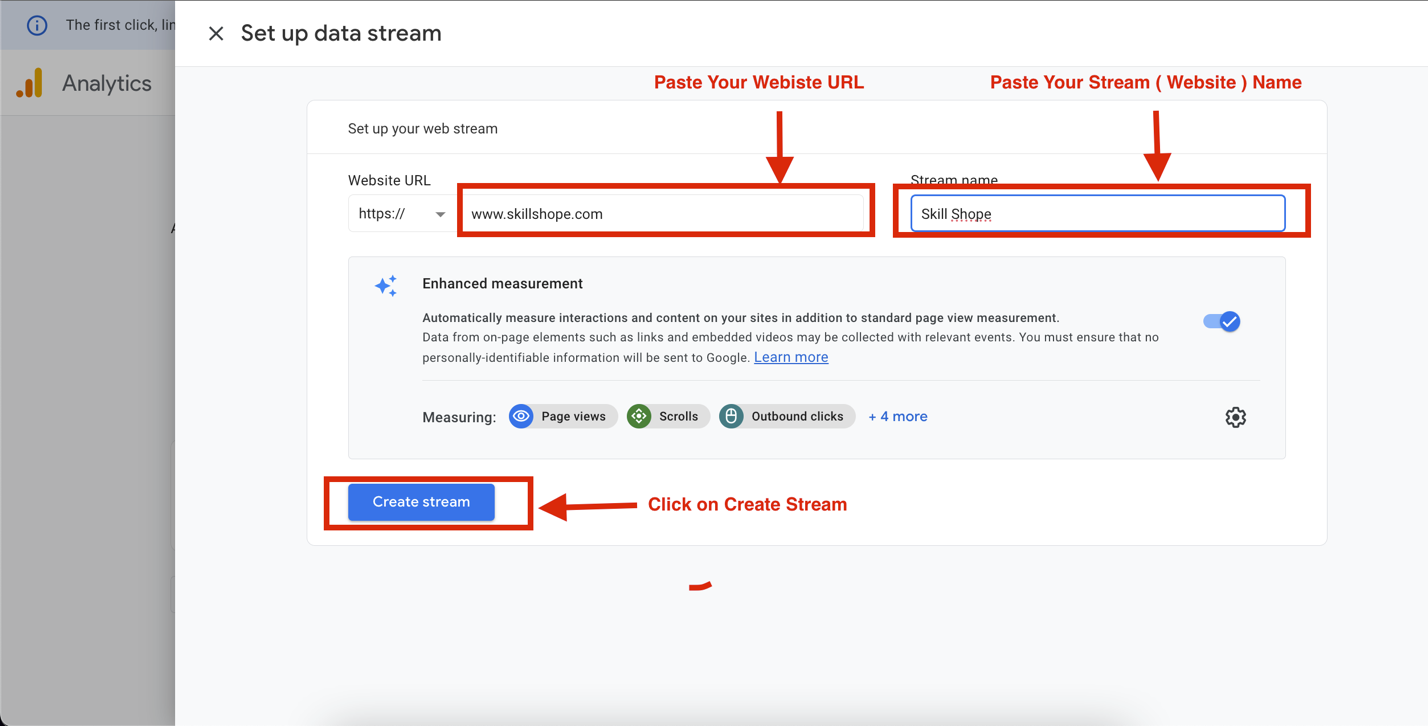
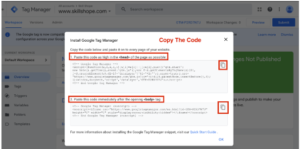
Click on View Tag Instructions :Click on View Tag Instructions
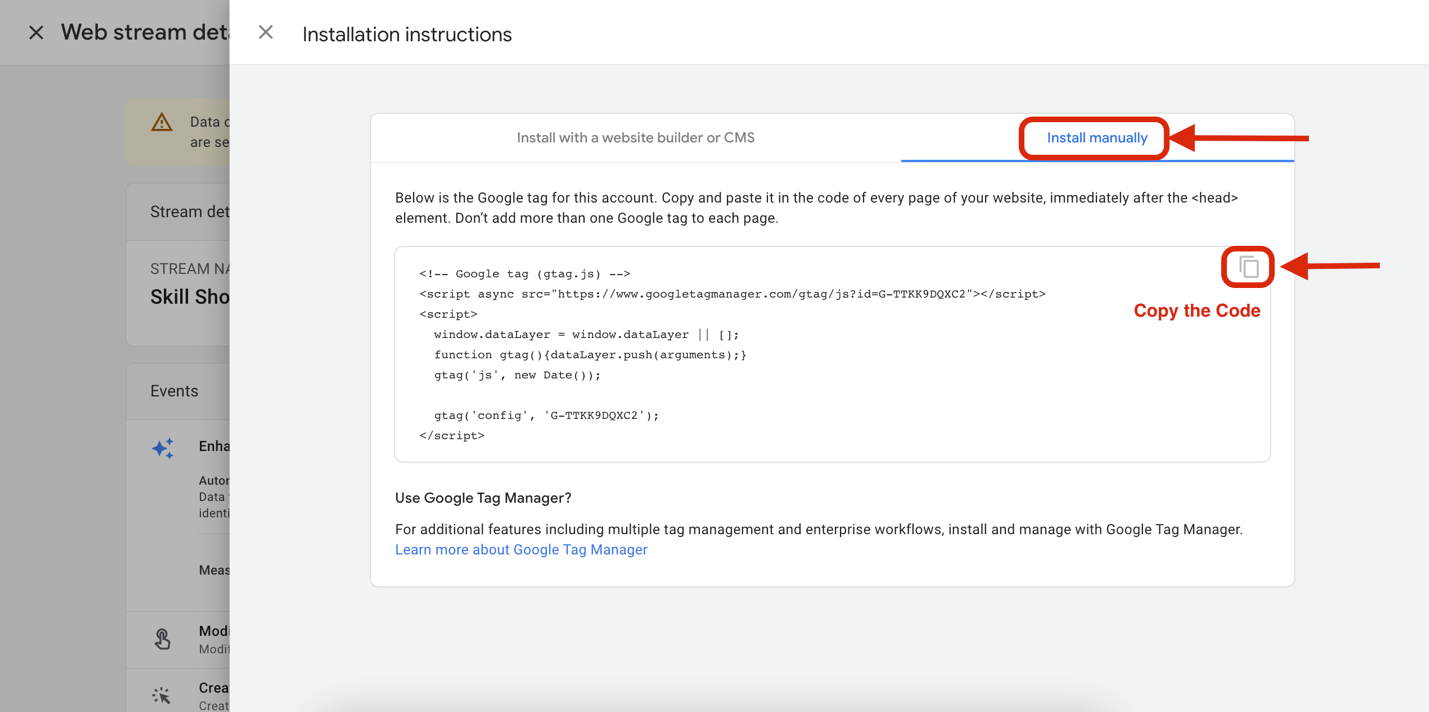
Select “Install Manually” & Copy the Code.
Adding Google Analytics tracking code to your website
STEP 9 : Visit WordPress and sign into your account.
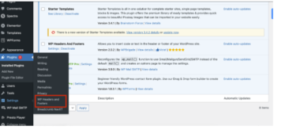
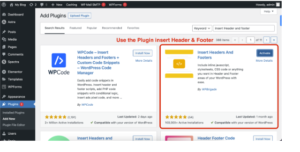
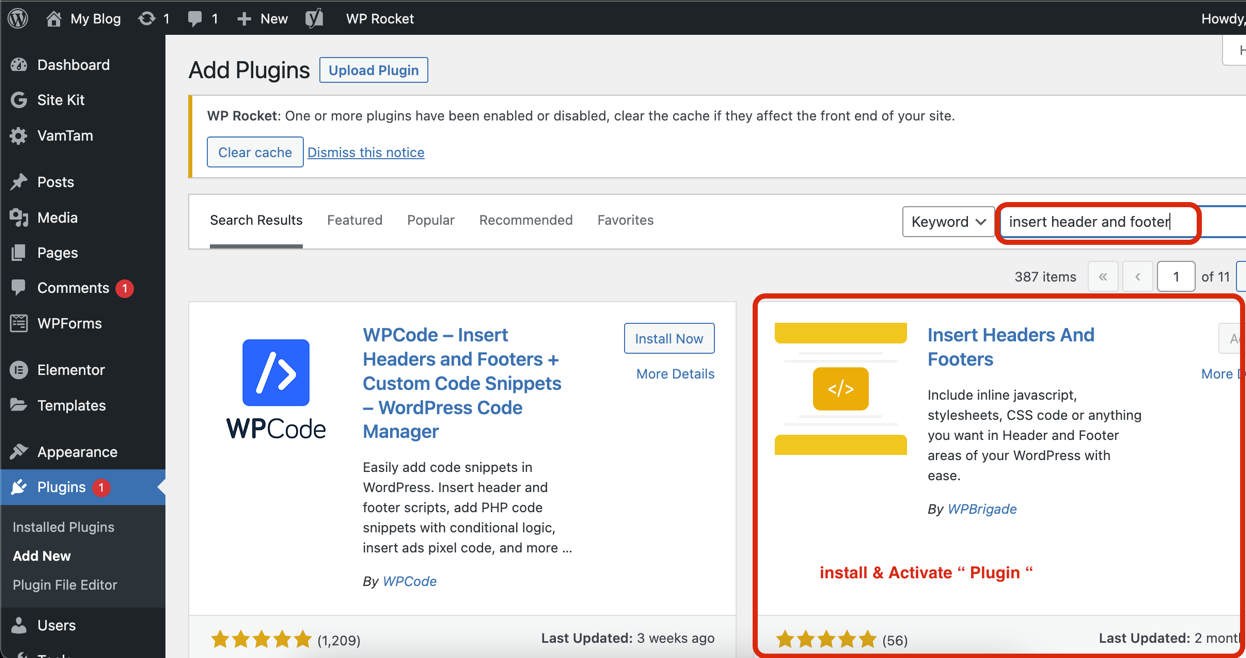
STEP 10 : Install the Plugin “Insert Header & Footer
STEP 11 : Paste the Code in Header.
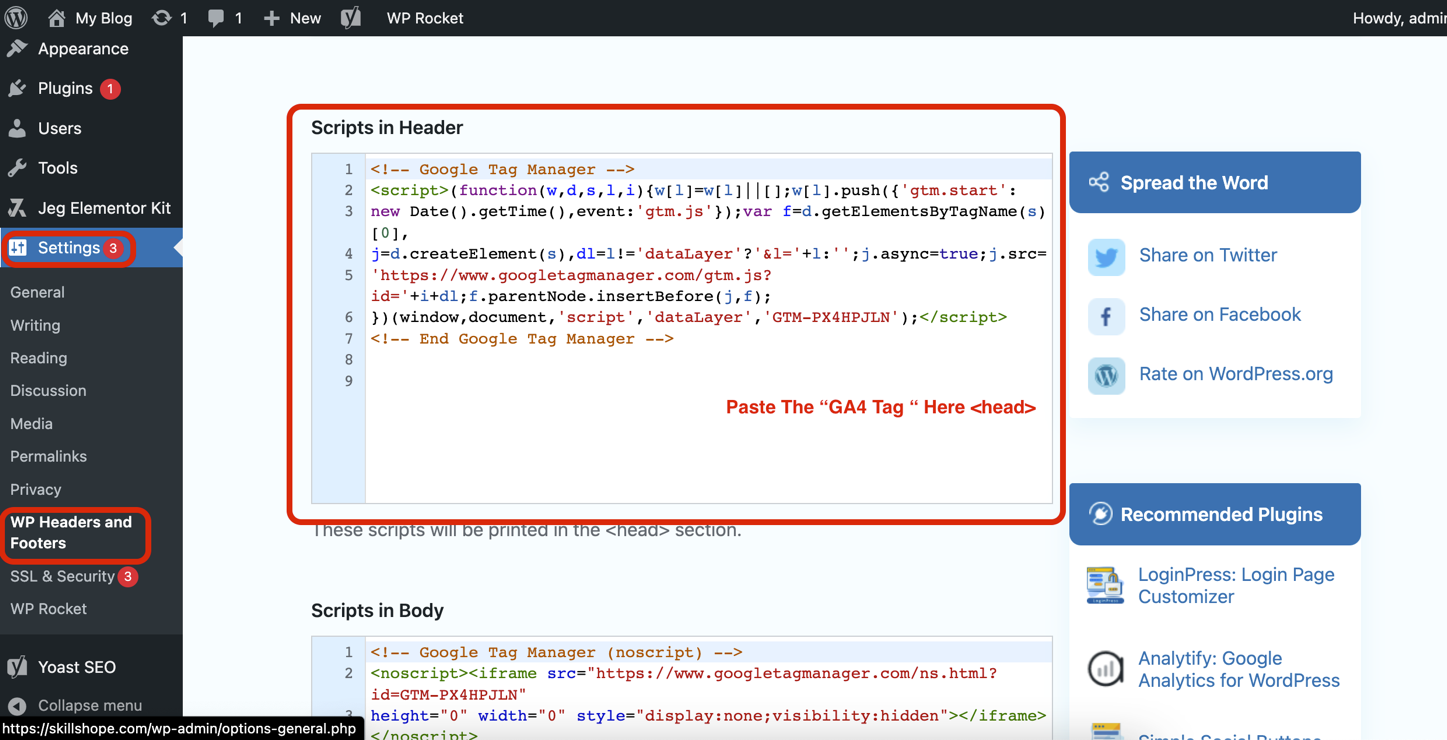
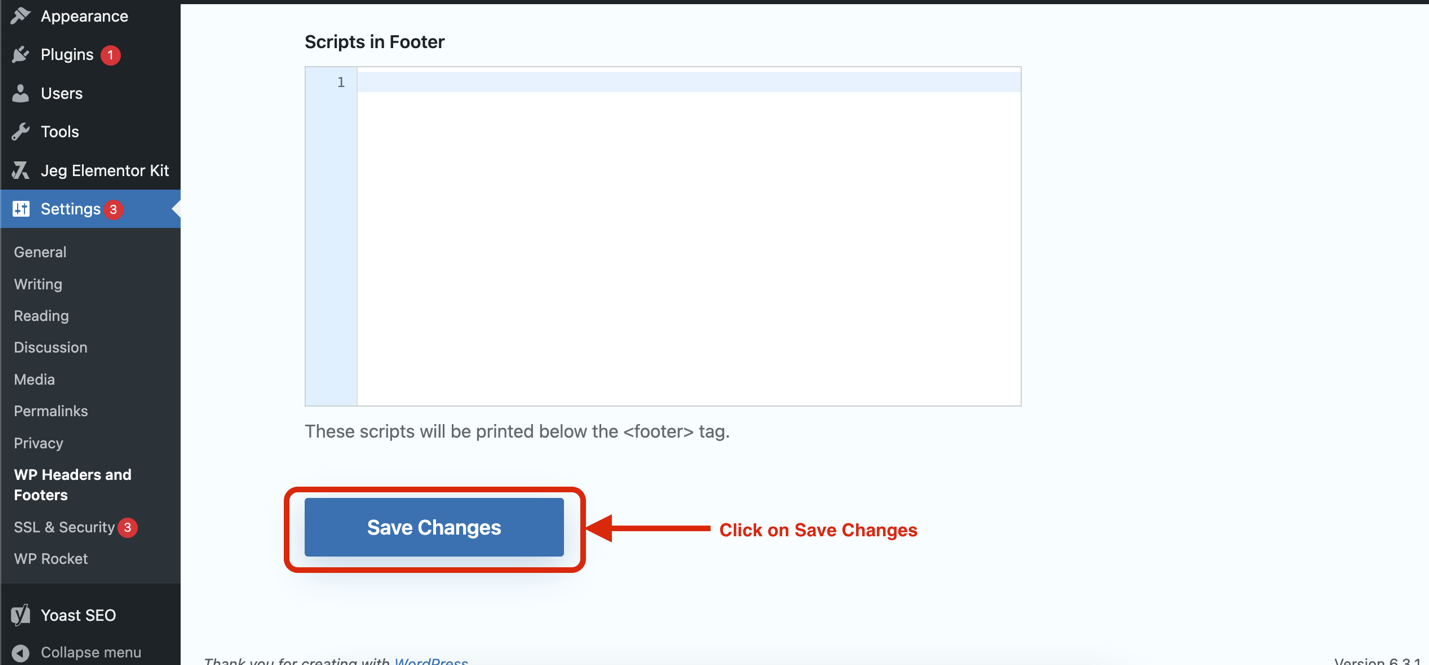
STEP 12 : Paste Code in Header, then click Save.
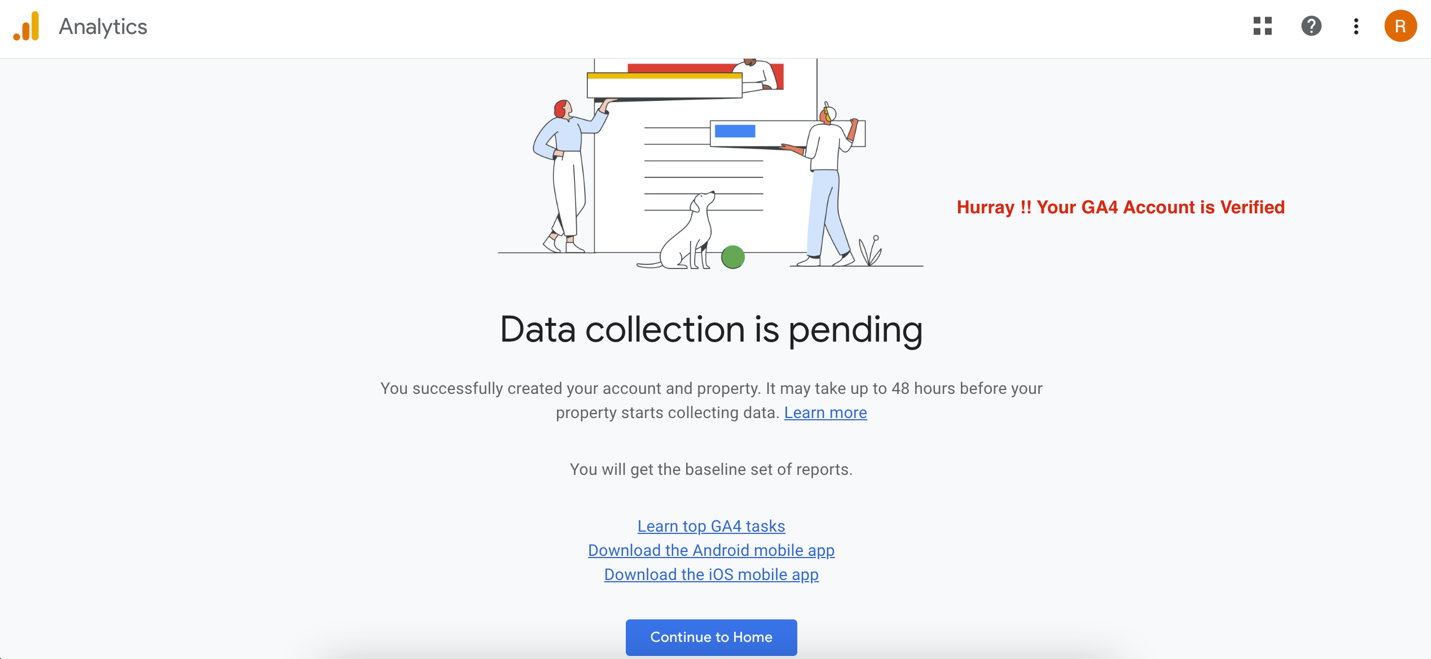
STEP 13: Hurray!! Your GA4 Account is Setup Successfully and explore some of your store’s pages.
STEP 14: Go to Google Analytics, click Reports category, then choose Realtime.

STEP 15 : Great work! Google Analytics has been integrated with P successfully.

Conclusion
You’re done! Remember that having correctly specified objectives enables Google Analytics to give you with vital information such as the number of conversions and conversion rate for your WordPress. It is nearly hard to evaluate the efficacy of your internet company and marketing activities without this information.
Execution Checklist:
- Visit WordPress and sign into your account. Enter “Analyzely Google Analytics 4” in the search bar.
- Install Google Analytics 4 application.
- Copy the measurement ID information from the Google Analytics Account web stream property and put it into your Analyzely Google Analytics WordPress .
- Click save and you are all set. Google Analytics should now be loaded and tracking your WordPress.