


Installing the Yoast SEO Plugin on WordPress
- February 20, 2025
- 0
Installing the Yoast SEO Plugin on WordPress
Estimated time to execute: 5 to 10 minutes

Aim: Install the Yoast SEO plug-in on WordPress to help your business get more clients and become more visible.
Optimal Outcome: Install and setup the SEO by Yoast plug-in on your WordPress site.
What do you need to start: This SOP will simply require your WordPress account.
Why is this SOP Important: Yoast is a powerful SEO plugin designed for WordPress websites. It aids in the optimization of content for search engines such as Google and Bing, helping your company to reach new consumers and boost its visibility. Yoast ensures that all of your website’s content is correctly optimized, which may greatly enhance organic search traffic.
When and Where to execute: Yoast SEO should be installed immediately after you have established your WordPress website.
Who Should Be Doing This: The person responsible for managing your website should be accountable in installing the Yoast SEO plugin.
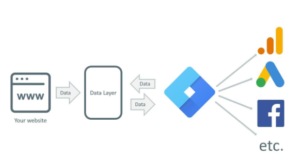
What is Yoast SEO Plugin?
Yoast is a strong SEO plugin designed for WordPress websites. It aids in the optimization of content for search engines such as Google and Bing, helping your company to reach new consumers and boost its visibility. Yoast ensures that all of your website’s content is correctly optimized, which may greatly enhance organic search traffic. The plugin also assists you in optimizing your website’s metadata and ensuring that it is Pluginropriately prepared for search engines. It also ensures that all of your website’s photos and videos are correctly optimized, which is vital for search engine results. Yoast also assists you with creating an XML sitemap for your website, which aids search engine bots in crawling and indexing it more quickly.
Take into mind the following procedures before beginning the installation of the Yoast SEO Plugin on your WordPress :
Execution
Link Google Search Console to Google Analytics 4
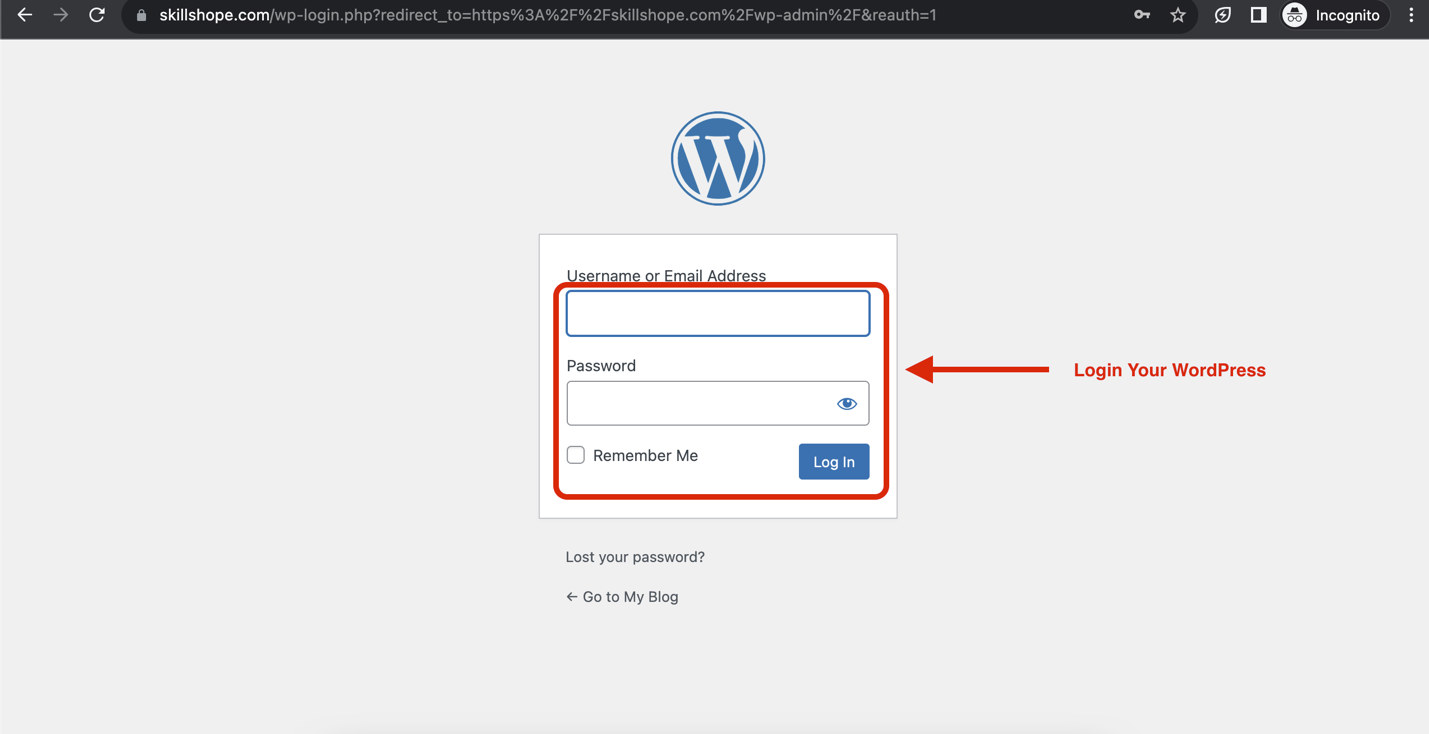
STEP 1 : Go to WordPress.com, click Log in, and fill out your details.
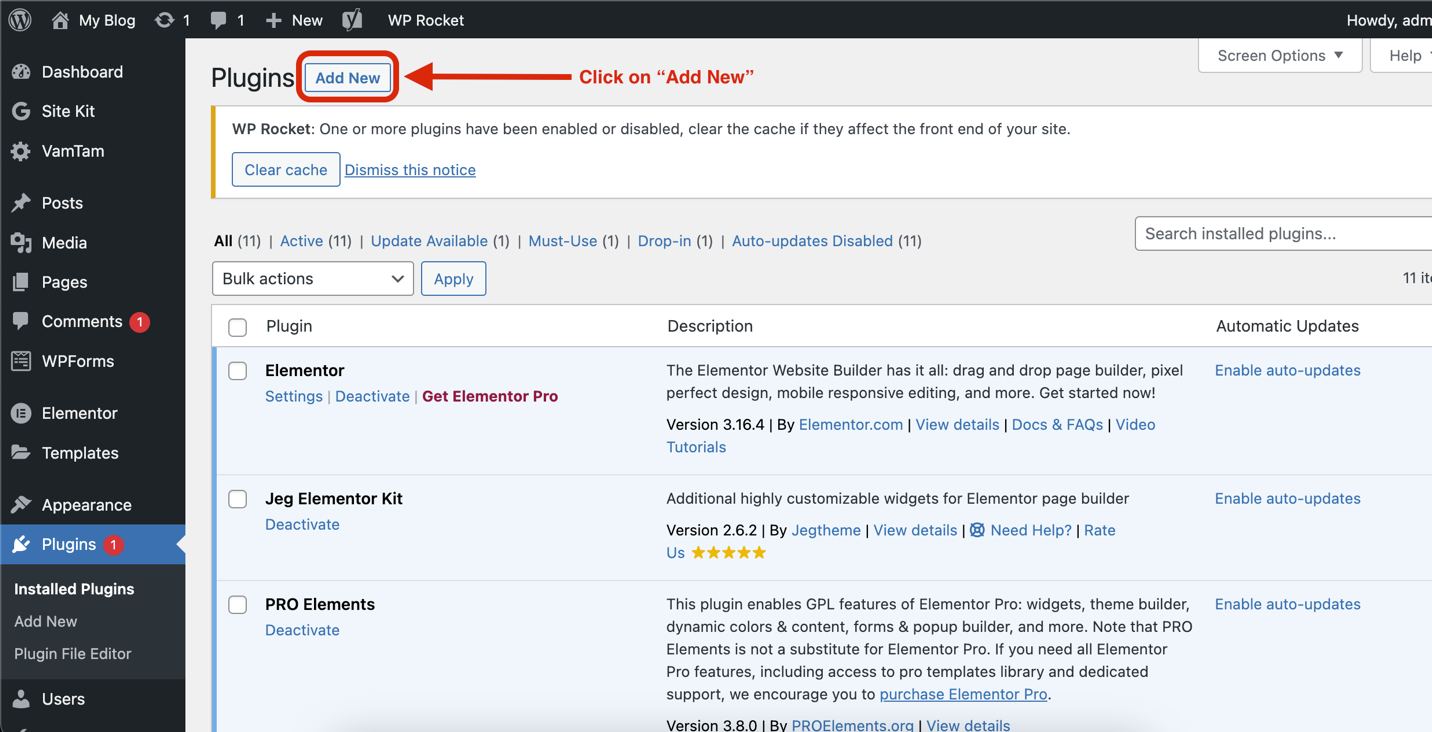
STEP 2 : Click the Plugin button on your Dashboard.

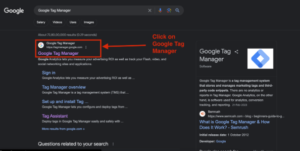
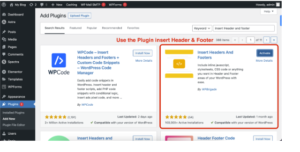
STEP 3 : Navigate and Click on “Add New”.
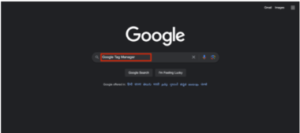
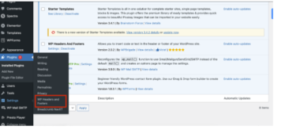
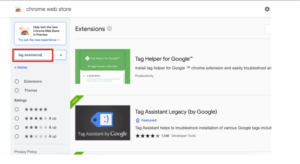
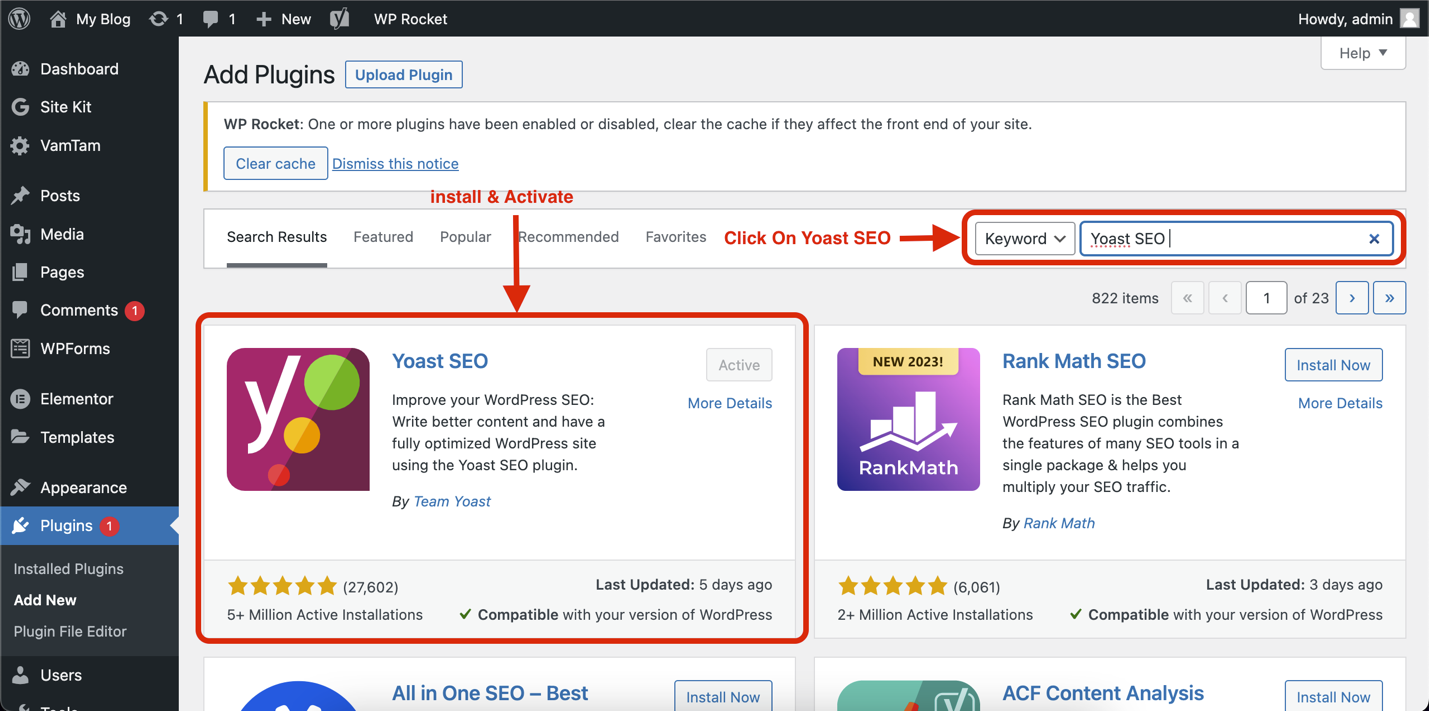
STEP 4 : Type “Yoast SEO ” into the search bar, Then Install & Activate Plugin.
Basic Yoast Configuration
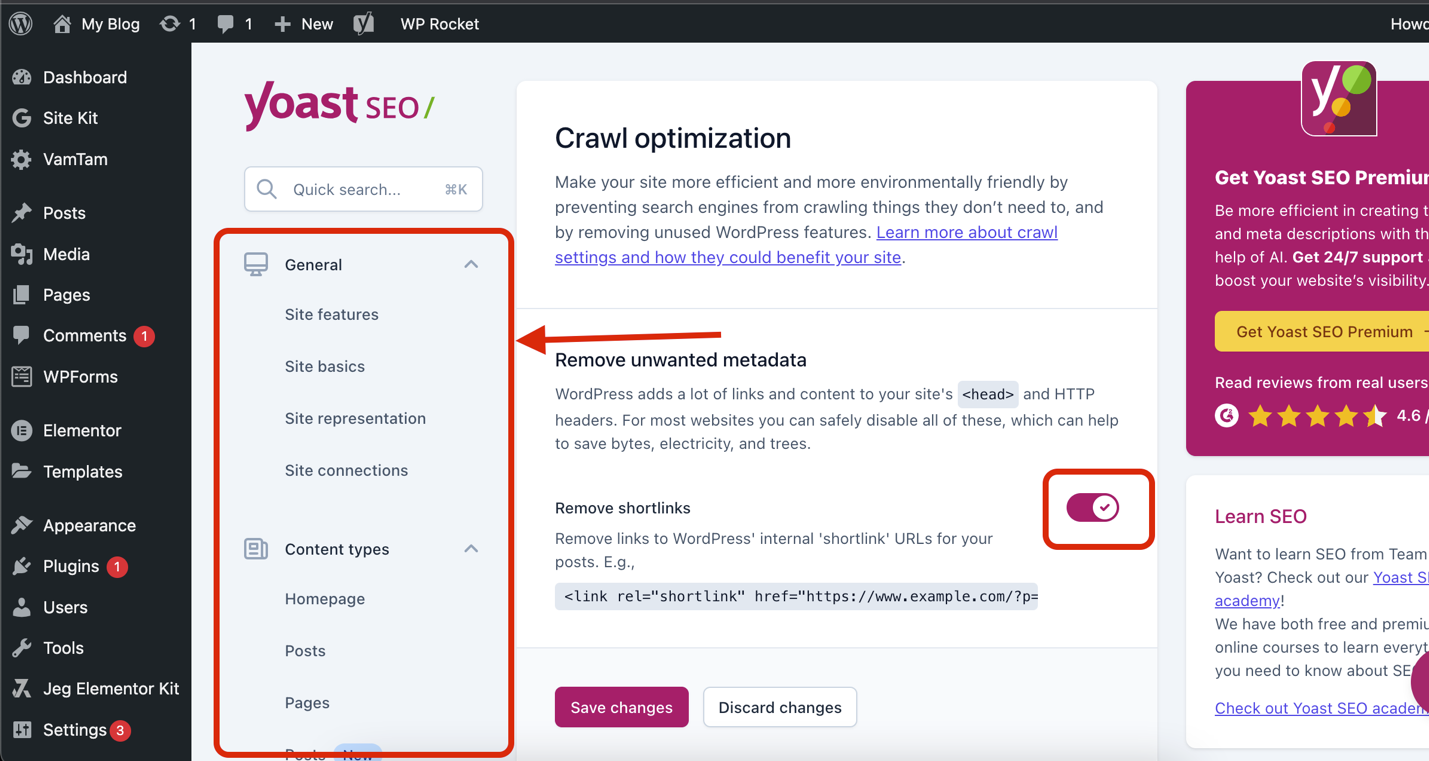
STEP 5 : You will see your Yoast SEO Settings.
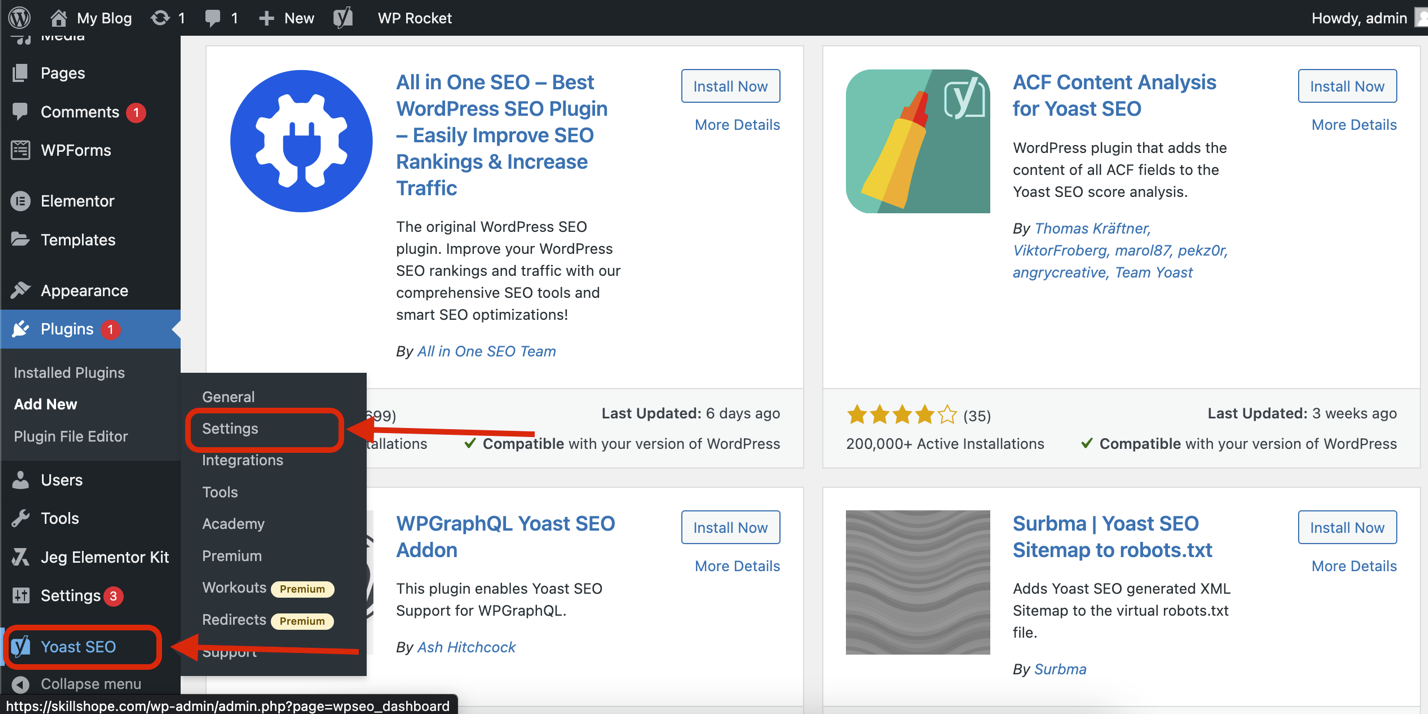
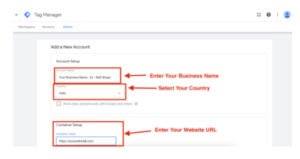
STEP 6 : You can modify your website under settings.
STEP 7 : Congratulations! You have completed the installation of the Yoast SEO Plugin in your WordPress. Take notice that you have a free 14-day trial Yoast SEO Plugin, and you must Upgrade your Yoast SEO Plugin if you want to utilize its premium service
Conclusion
You’re done! Keep in mind that the Yoast SEO Plugin increases your website’s search engine rankings by assisting you in optimizing your site’s content and keywords. It also improves your site’s performance in search engines like Google and provides you with the tools you need to bring your material up to the highest SEO and readability standards.
Execution Checklist:
- Log in to your WordPress Account.
- Click Plugin on your Dashboard.
- Type “Yoast” in the Search Bar.
- Click Add Plugin, and then Install.
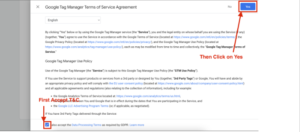
- Read the terms of service and click continue.